Progress Notes
Users of Comm.care can easily create Progress Notes, also known as case notes or support logs. Progress Notes should adhere to the basic documentation requirements to ensure compliance with the Provider Payment Assurance Program.
The 3 ways to create Progress Notes, reflect whether you have an associated appointment scheduled in the Comm.care Calendar or it is a standalone Progress Note (i.e. Ad hoc Progress Note). Let's delve into these options in greater detail:
Progress Note - with an Appointment
The preferred way to create a Progress Note is via the Calendar. When you schedule an appointment in the Calendar, it automatically populates with an embedded Progress Note page in one of three colours. Here's what the colours indicate:
 | Red - No Progress Note has been entered for that appointment. |
 | Green - The Progress Note has been entered. |
 | Grey - The Progress Note is for a future appointment. |
One of the benefits of creating Progress Notes from the Calendar is this system of 'flags', which easily alerts staff and Managers to the status of Progress Notes and therefore claims. You can filter for Appointments without Progress Notes (more on that further below) to ensure that your staff accurately document the service delivery. Then you can confirm with your Participants about the services provided, and claim accordingly.
Additionally, Progress Notes that are created and updated from within the Calendar will appear in both the Calendar and Timeline features. When a Progress Note is attached to an appointment, it must be accessed via the Calendar to ensure the flag system above is updated accordingly, and Reports are accurately updated when Claiming.
Progress Notes can also be created separately of an appointment and therefore will only show in the Timeline, and as dark green blocks in the Calendar view. They are called Ad hoc Progress Notes which will be discussed later in this article.*
To create a Progress Note from the Calendar, go to My Calendar > Click on the red page icon shown at the top of an appointment. Document the details of the service you provided along with the correct service, line item(s) & travel time.
Ad hoc Progress Notes - without an Appointment
Pro tip- For shorter tasks like a phone call with the Client or doctor, where appointments are not created, you can create a Progress Note from either the Timeline or from the Home Page for the record of your services; whether or not it is 'billable' or 'non-billable'.
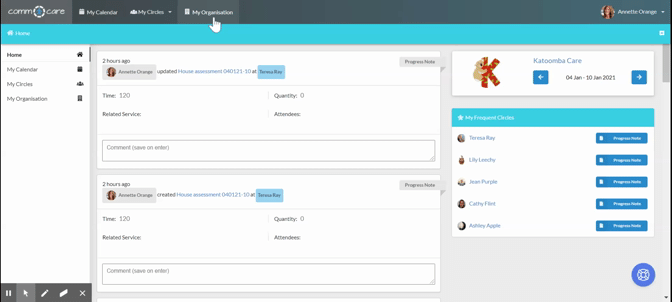
Progress Notes - from the Home Page
First you need to add the Circle to My Frequent Circles.
Once done, go to Home Page and click Progress Notes in the Frequent Circles section to create an ad hoc Progress Note.
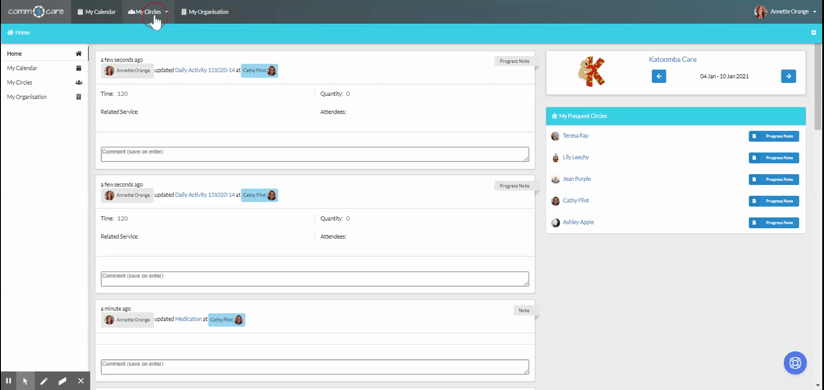
Progress Notes - from the 'Circle' Timeline
Go to My Circles. Choose the relevant Circle by clicking on the name or searching their name, then click Timeline > Add Document > Progress Note
Below is an example of how to populate a Progress Note from scratch (ad hoc Progress Note) for shorter, non face-2-face, or unassigned appointments.
Ad-hoc Progress Notes are great for Coordination of Supports, as they allow Managers to see the actual time spent on service delivery, providing a true reflection of work undertaken for a Participant. More on Billable Hours.
All Progress Notes without appointments will appear as a bold green colour in the Calendar.
To view all such Progress Notes, go to Your Organisation's Name > Calendar. Toggle on the Staff whom you want to see the progress notes, then select Show PNs w/o Appointment
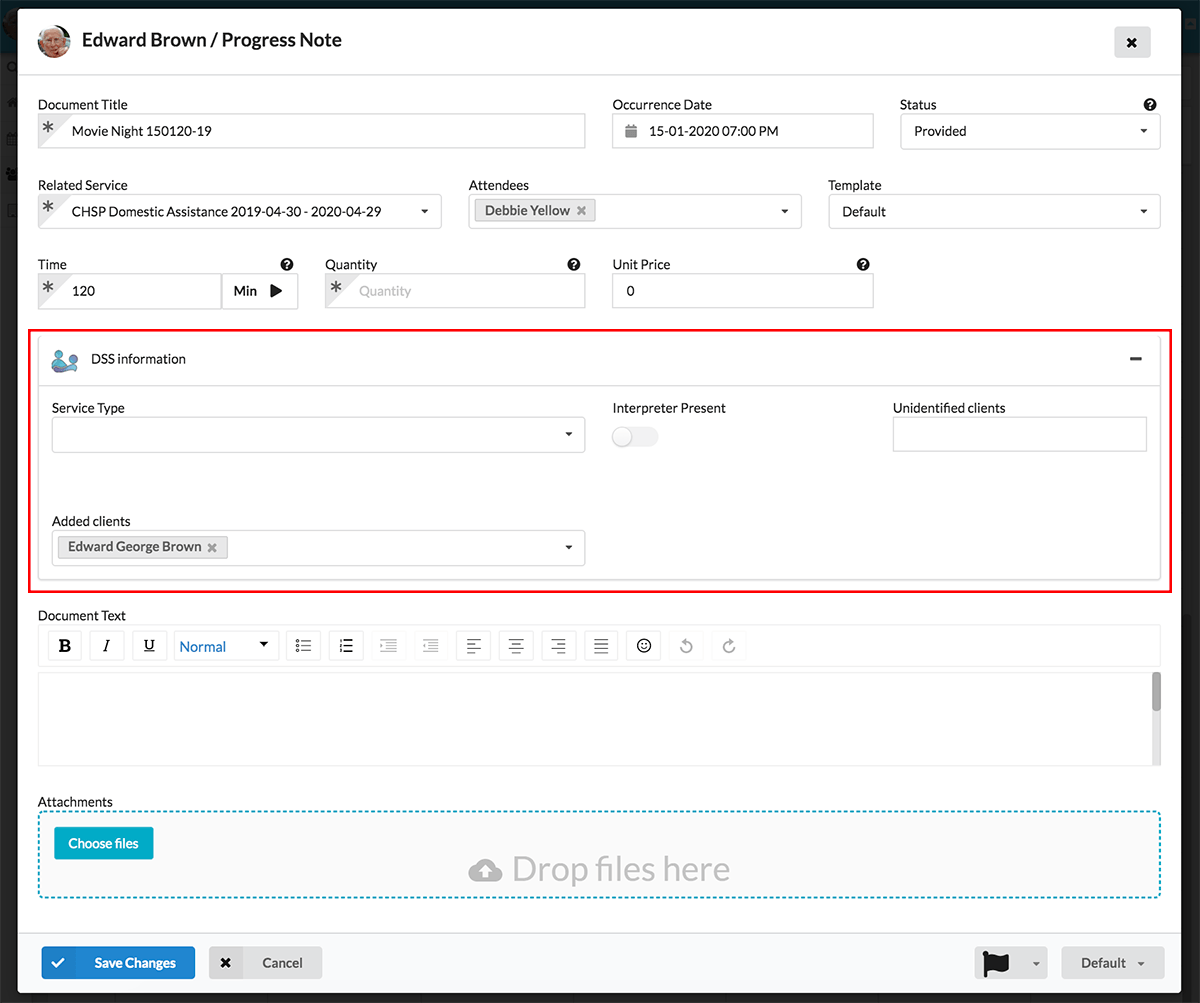
How to populate a Progress Note?
Fields explained:
- Status: Select if the service was: Provided, No Show, or Cancelled.
- Time and Date: of occurrence of the service.
- Related Client: is pre-filled from the circle you choose.
- Related Service pre-filled from appointment.
- Support Item, Quantity and Unit Price pre-filled from the appointment and service.
- Attendees: pre-filled from appointment.
- Other fields: depending on the service type (NDIS or DSS), Comm.care will show you their related fields.
Appointment Cancellation:
For short-notice cancellations with a 100% cancellation fee, select the status No Show.
For advance cancellations without a fee, select the status Cancelled.
Depending on the Progress Notes' status, cancellation fees will be included in the claim as 100% or 0.
Note: The system will only allow you to select No Show or Cancelled when the service is selected. This is because NDIS allows No shows for certain services and line items only.
You can read more about this in the NDIS Pricing Arrangements and Price Limits.
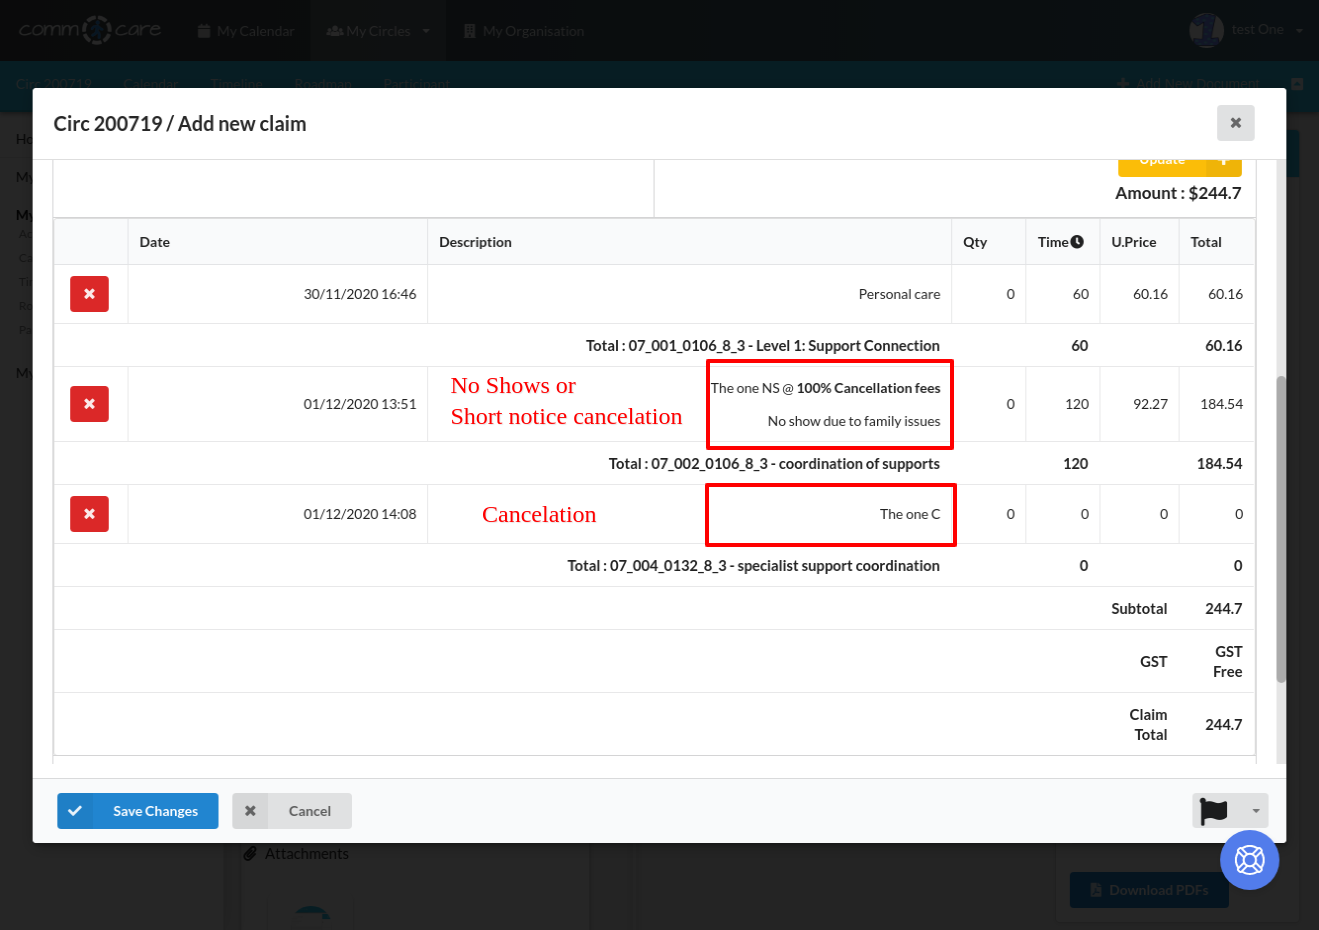
(The image above depicts the claim in case of a No Show or Cancelled)
Note: Once Progress Notes are claimed, they become locked. You are not supposed to change the Progress Notes after claiming. If changes are needed then, simply delete the invoice, make the changes, and then create a new invoice.