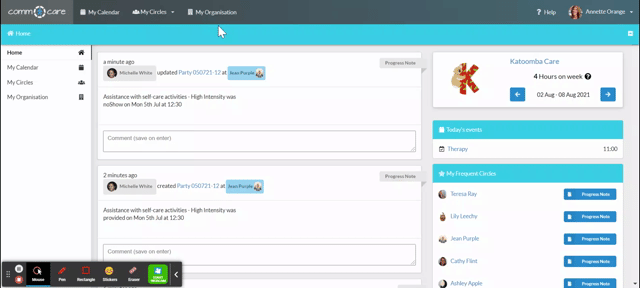
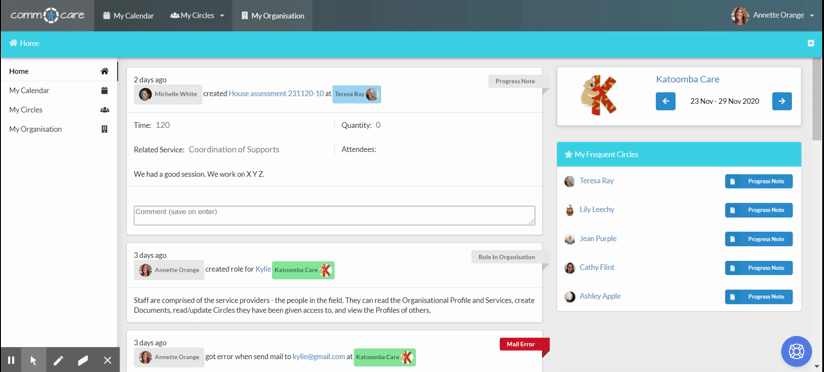
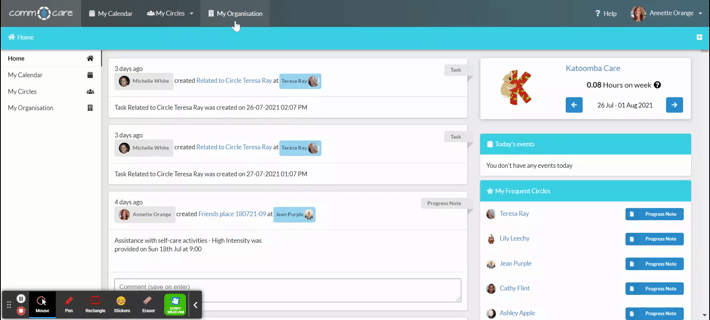
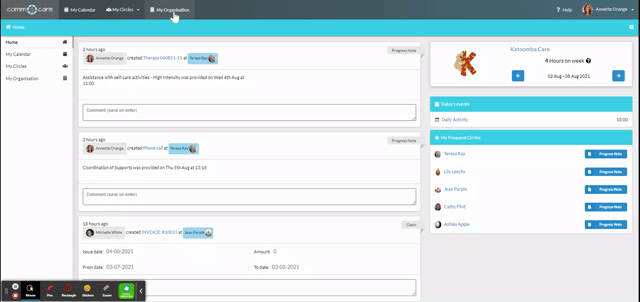
Documenting Group Progress Notes
There are several ways to create a normal progress note in Comm.care, but only ONE way to create a group progress note. It must be created from the Organisation Calendar, just as group appointments. This synchronised approach ensures that the information entered will automatically apply all partcipants within the group, resulting in a single progress note for the entire group of participants.
Create Group Progress Notes
Go to My Organisation > Calendar. Then click on the red page on the group appointment.
Note: Group appointments will have a green logo named Multiple Circles.

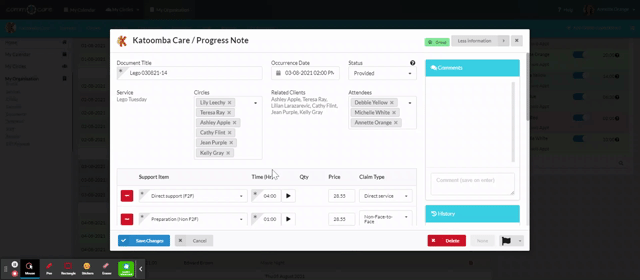
When you open the progress note to fill in the details, you may notice that most of the fields have been auto-populated from the appointment itself.
Fields explained:
- Document Title: This has been auto-populated from the appointment. You can change it if you'd like to.
- Occurrence Date Select the date and time of the service.
- Status: Select if the service was Provided, No Show, or Cancelled.
- Service: This has been auto-populated from the appointment.
- Circles: This has been auto-populated from the appointment. You can remove any participants who are no longer part of the group; in this case, you might need to update Apportioned Pricing in the group service.
- Related Client: This has been auto-populated from the appointment.
- Attendees: This has been auto-populated from the appointment. Note: Only the mutual staff between the circles can be the attendee of the appointment to maintain data privacy for all the circles.
- Support Item, Quantity and Unit Price: These have been auto-populated from the appointment and service.
- Document text area: This is where you enter the detailed information of the progress note.
- Attachments: Upload files worth attaching to the progress note.
Note: Be cautious about entering personal information here, as it will reflect on the progress note for each circle of care. Also, make sure you have the consent of the participants when attaching photographs, as they will also appear on the progress note for each circle of care.
Cancellation, 1:1, or service after the group support
Cancelled or No Show
In this case, you need to remove the participant(s) from the Circles field on the group progress note.
Then, go to Circle's Timeline and generate a separate progress note under the status Cancelled or No Show. Make sure to populate all the correct line items to reflect on the claims.
- For short-notice cancellations with a 100% cancellation fee, select the status No Show.
- For advance cancellations without a fee, select the status Cancelled.
Depending on the progress notes' status, cancellation fees will be included in the claim as 100% or 0. You can read more about this in the NDIS Pricing Arrangements and Price Limits.
1:1 or Support service after the group support
In this case, after creating the group progress note as mentioned above, you need to create a separate progress note from the Circle's Timeline to whom the extra service was provided.
Go to Circle > Timeline > Add Document > Progress Note

Populate the fields just like a normal progress note, then under the Support item, select 1:1 support. This is because a group progress note is common for all the participants in the group, therefore a separate progress note is required for an extra service.
Important Notes
- Progress notes created for a group can only be edited from Organisation > Calendar and not from any other place.
- Make sure you edit the part common for the entire group when editing a group appointment and group progress note.
- Once progress notes are claimed, they become locked. You are not supposed to change the progress notes after claiming. If changes are needed then, simply delete the invoice, make the changes on the progress notes, and then create a new invoice.