Exporting to Quickbooks
This article will show you, how to export service claims to Quickbooks from Comm.care.
As a client management software, Comm.care helps in account reconciliation of the services that you have provided to your client.
Comm.care does invoices for the services below which needs an accounting system:
- NDIS Self-managed
- NDIS Plan managed
- Client fee for services
As an example, let's have a look at exporting plan managed claims to Quickbooks.
To export invoice to Quickbooks you have to first select Quickbooks as your Accounting Integration from Organisation Profile , See more detail here.
Remember, first to create the invoices and send them out to the participants and plan manager before you start with accounting. Unless you don't send out the invoices, it's no point in account reconciliation of that services. See the details here.
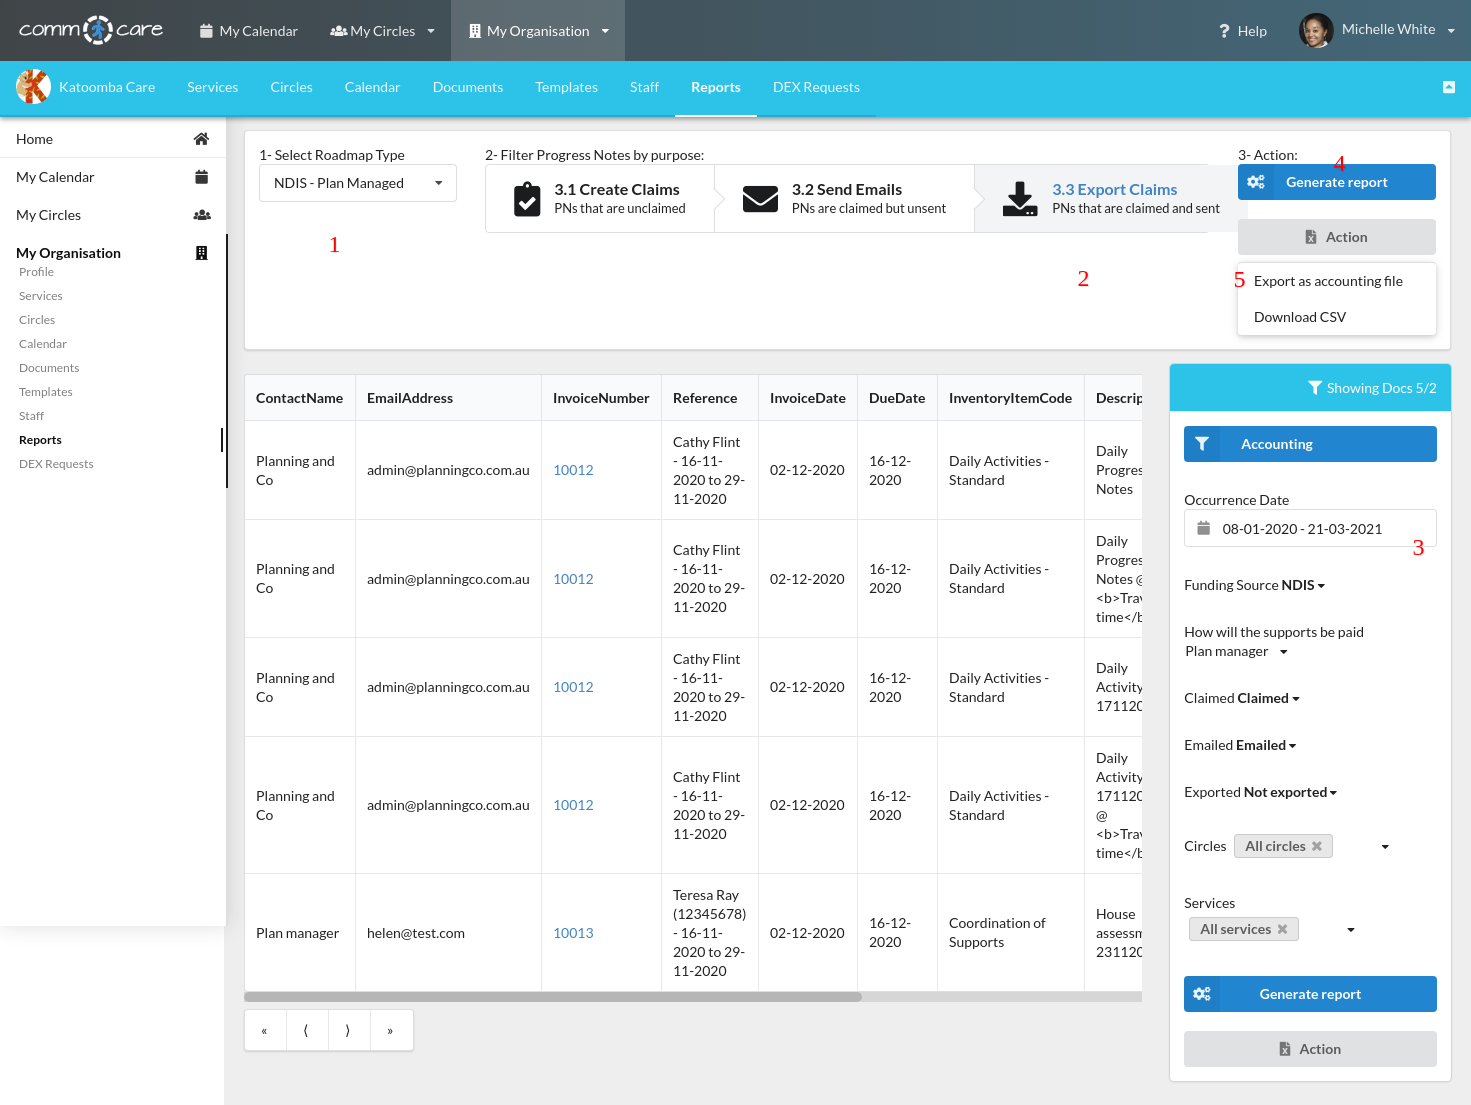
Once you've sent out the invoices, go to My Organisation > Report.

- You should filter
Select Roadmap Typeto **Self Managed or Plan Manager. -**Remember to enter Payment classifications on the Circle’s Roadmap. Learn more about the Roadmap of Support. - Select Filter Progress Notes by Purpose: 3.3 Export Claims
- Select theOccurrence date for the duration you want to export claims.
- Click Generate report to load report page in a tabular form where you can have a 'single view' of all the NDIS Invoices to be exported to QuickBooks.
- Click on Action (below Generate report)> Export as accounting file. It will download a CSV file for you to upload to Quickbooks.
Once, you have downloaded the accounting file (Quickbooks CSV file), you can upload it to Quickbooks accounting system by following the steps below.
Tab 1: Log in to Quickbooks
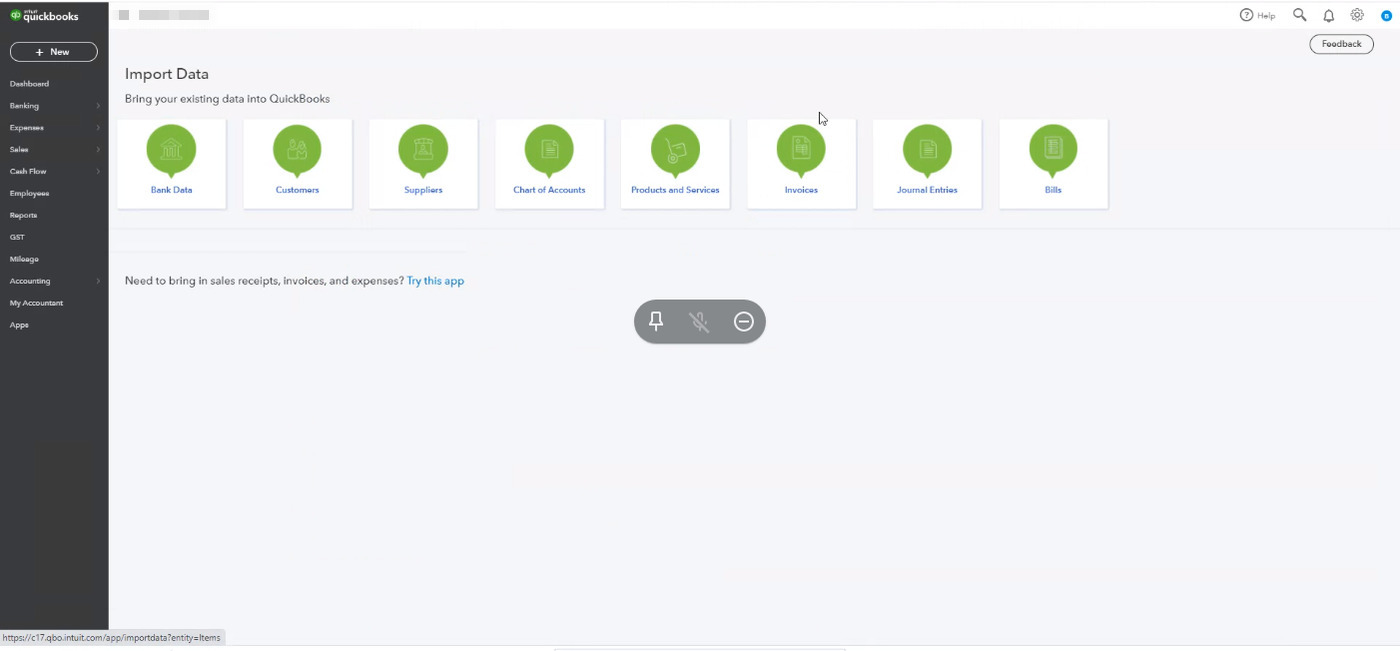
Once you're into Quickbooks, click on Settings on the top right of the screen and select Invoices.
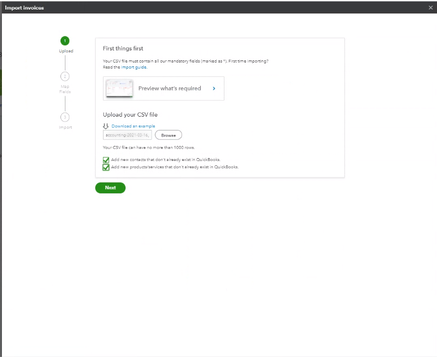
Tab 2: Select the file you exported from Comm.care (Step 1: Upload)
Select Browse and then find and select the CSV file you exported from Comm.care. Select Next. Under the Browse button, tick on the checkboxes to add new customers, products, and services that don't already exist in QuickBooks.
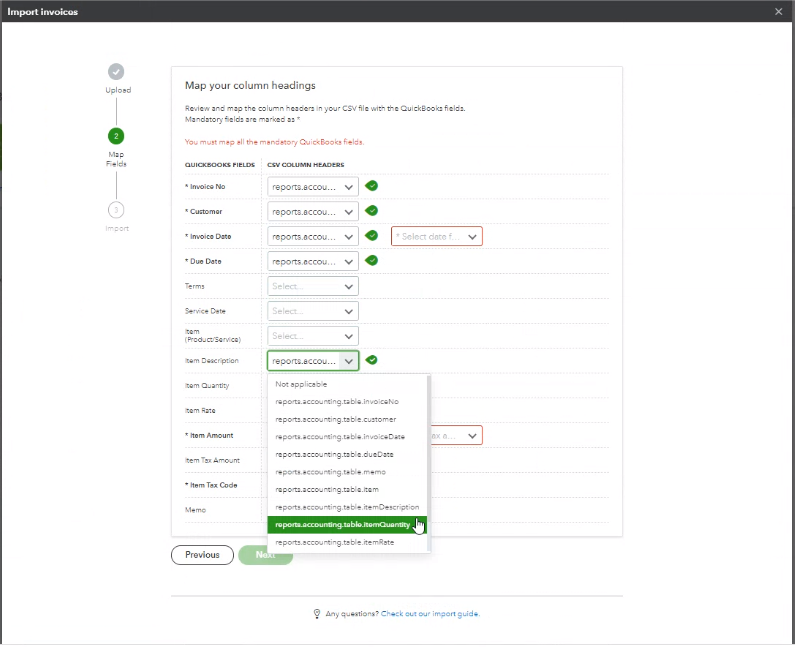
Tab 3 & 4: Map your Import Fields (Step 2)
Make sure your spreadsheet’s column headings match with QuickBooks fields. Select the date format you used, like DD-MM-YYYY. Select Exclusive or Inclusive as your tax option. Once done, click Next.

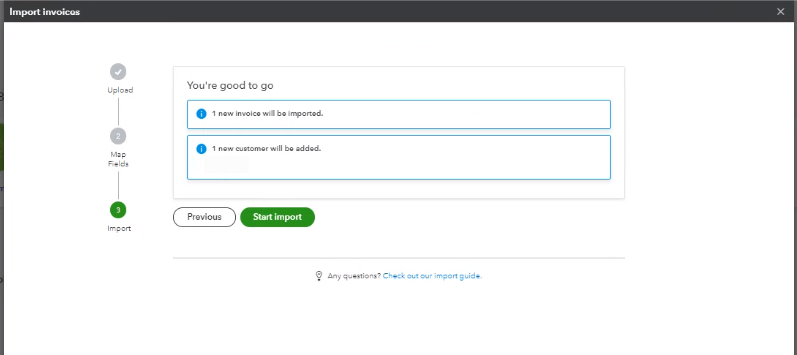
Tab 5: Import Invoices (Step 3)
After you map the fields, review the summary of your import. If everything looks good, click Start import.
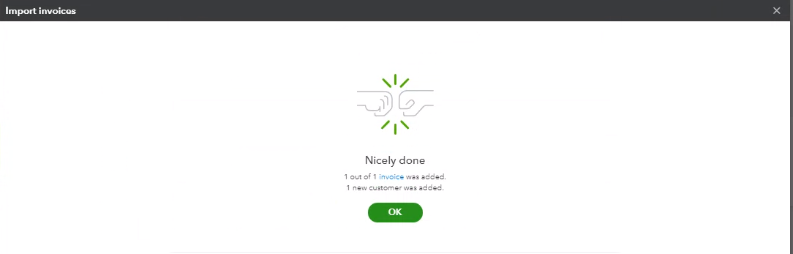
Tab 6: Done
Once all your invoices are imported and you’re done, click OK. If some invoices fail to import, note why then select Done.
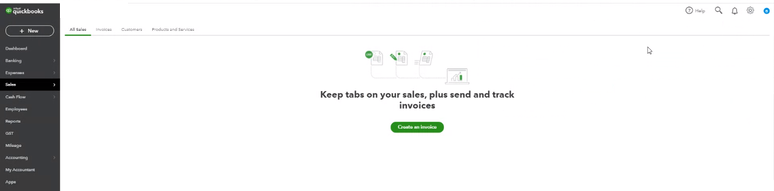
You can view the invoice and the amount on the Sales > Invoices tab.
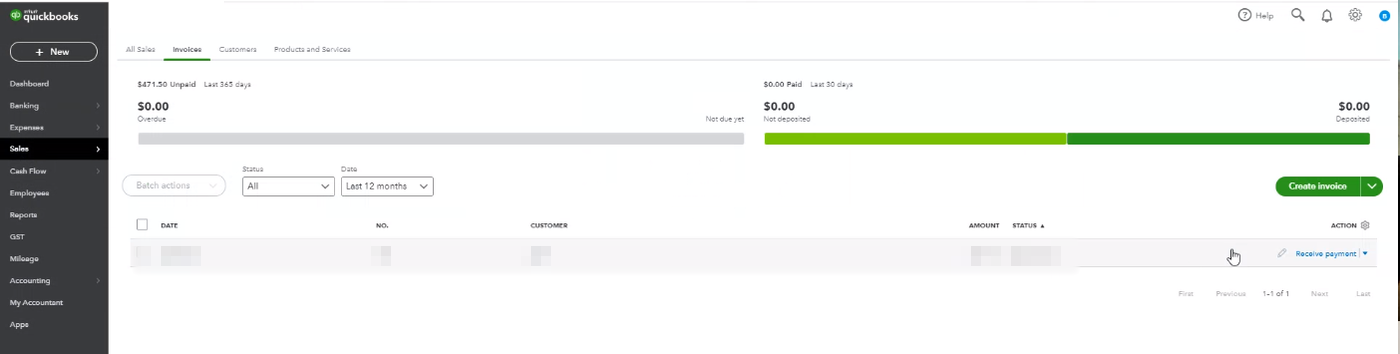
Done! It's that simple to import the NDIS Invoices to Quickbooks from Comm.care.